What you need:
--Sewing machine, scissors, thread, seam ripper, soft measuring tape, WATER ERASEable fabric marker/pen/pencil.
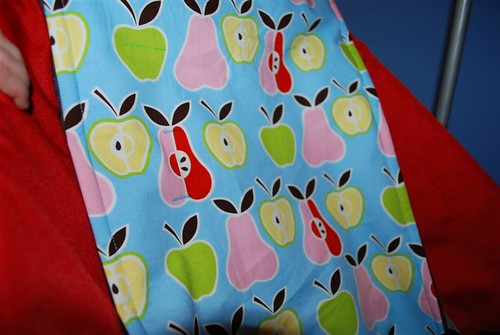
--1/2 yard of fabric for the top and 1/2 yard for the bottom if you want them different, if not, 1 yard should be fine for both sides if you want them the same. I used fleece so that the back would be slightly grippy.
--Shower curtain liner. I would get the intermediate one, not the cheapest but not the most expensive. You want it to hold up to machine washing.
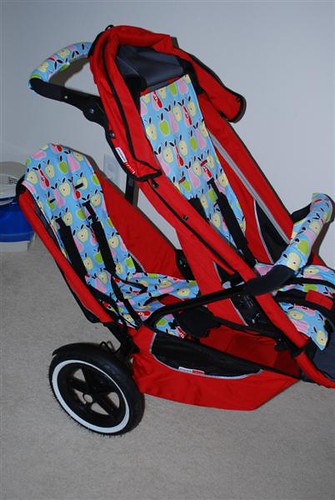
--Stroller you will be making the seat cover for.
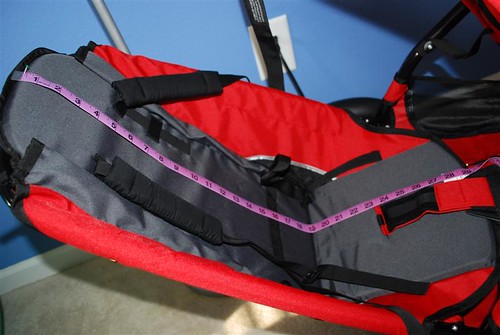
First, measure your stroller seat. Measure from the top of the seat to the bottom at the widest point and across the back from left to right at the widest point. Add 1 inch to these measurements and that is how big you will cut your fabric.
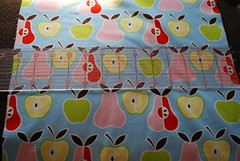
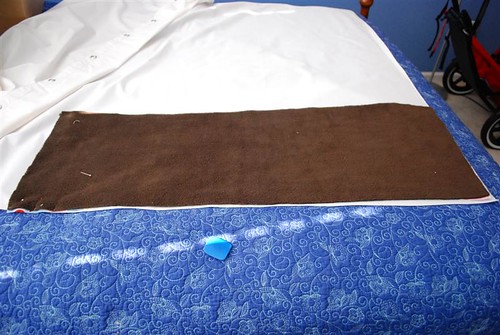
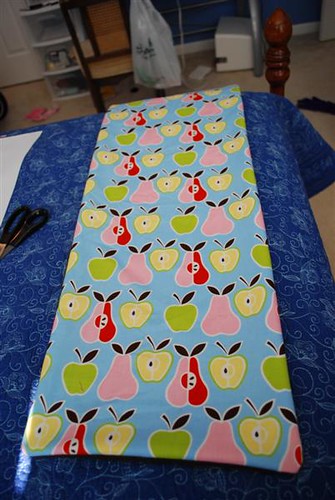
Then, lay out your fabric. If you are lucky enough to have a cutting table you won't have to use the guest bed like me!
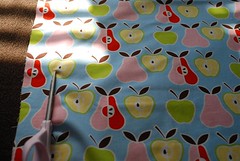
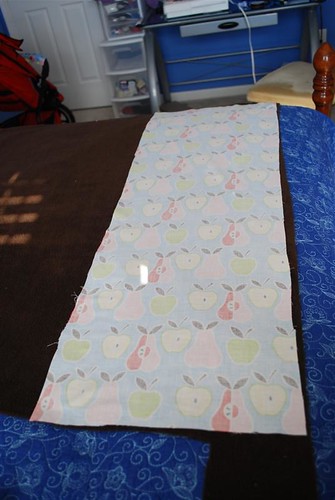
First, measure and cut your fabric for the top. I cut the width first, then trimmed the length.

Then, lay your front fabric on top of your back fabric right sides together and cut out your back fabric.
Put the front and back layers on top of the shower curtain, PIN all 3 layers together and cut out the shower curtain.
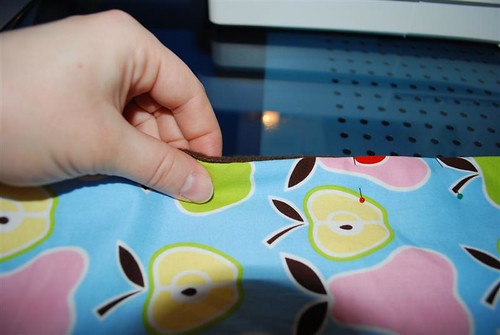
Take the 3 pinned layers to the sewing machine and sew together. I like to use a 1/4 inch seam allowance, which is usually about the width of your machine foot. ***Don't forget to leave about a 3" gap at one end so you can turn it right side out!!***
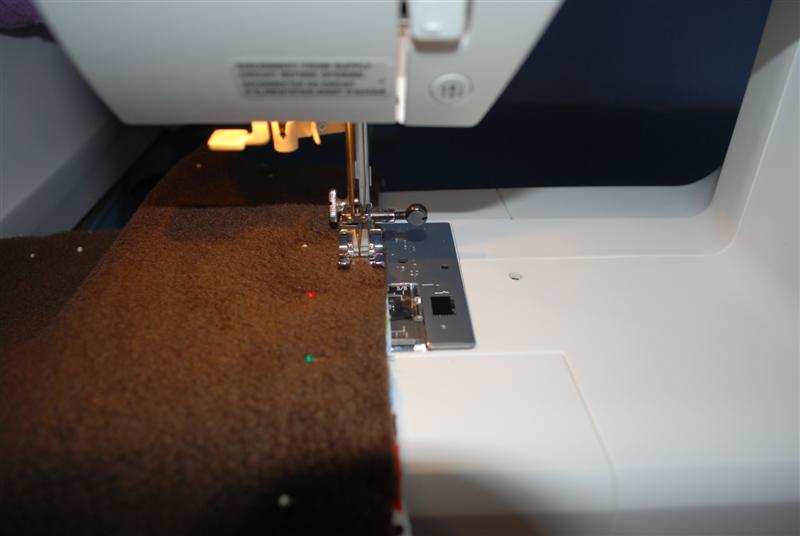
Once you have sewn the layers together, trim your seam allowances (if you are sloppy like me, lol) and trim your corners to aid in turning. When you trim your seams and corners, it decreases the bulk you have to fight with when you topstich.
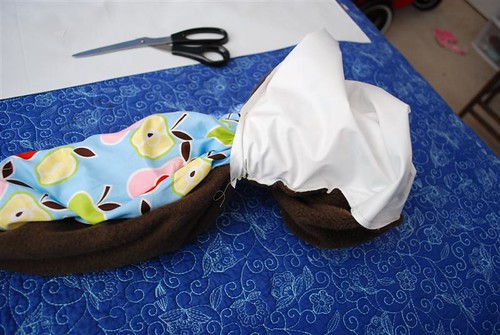
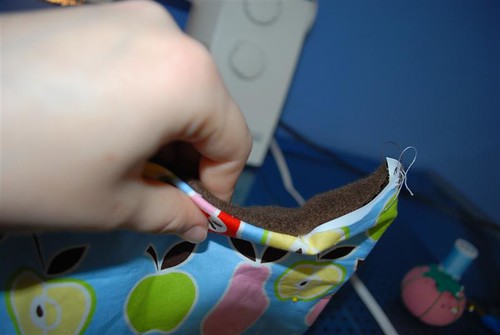
Turn, turn, turn! I reach in and grab the opposite corner from where the turning hole is and pull that through first, then the rest follows pretty easily.
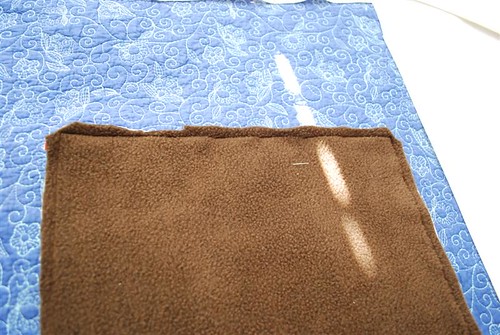
OK, now you are ready to topstitch. Go around and flatten out the edges and make all the seams point the same way, and pin the 3 layers together. Some people prefer not to pin while they topstitch and that is fine, but I find mine looks neater that way.
Now, when you get to the hole where you turned it, tuck the edges in and pin. Tuck in far enough that when you topstich it will catch the edges.
I have found I like a 3/8" topstich rather than a 1/4 inch, but make it as wide as you would like! Be careful and go slow when you get to the hole for turning.

Sewing the hole closed

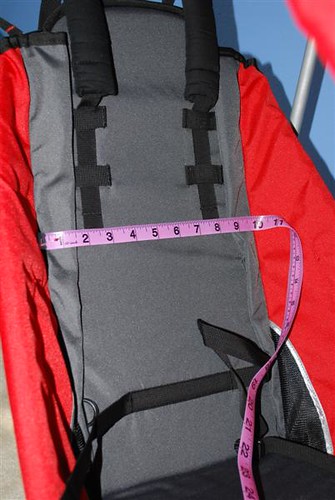
Now, back to the stroller. Measure where the straps are and how wide the webbing is.
You want to measure how far from the top and sides the straps slots are so you know where to mark on your fabric. Also, put the cover in the stroller, do a dry run and put a few marks for guidelines too if you want.
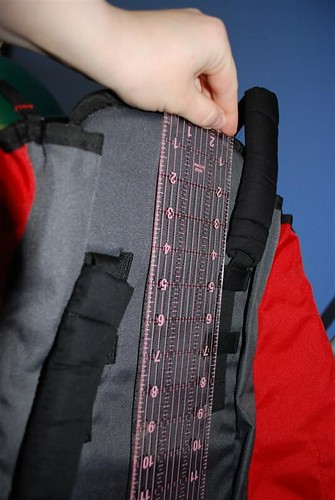
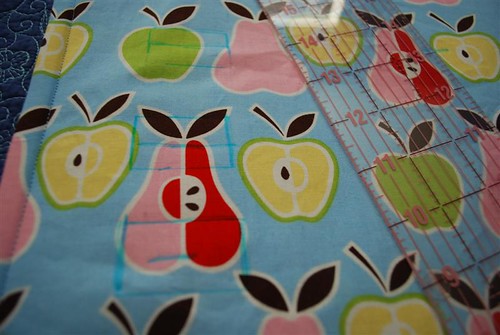
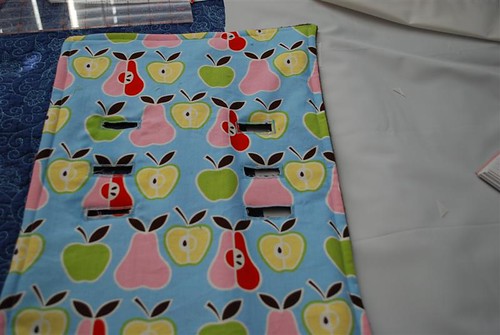
Mark your slots for your straps. For the Phil and Teds, I like to use 1.5 inches wide, 1/2 inch tall and 2 inches from the sides of the fabric. But, it will depend on your stroller and the width of the webbing. Make sure that if you made marks from when you laid the cover in the stroller, that the marks will be in the MIDDLE of the holes (boxes) you make.

All marked out:
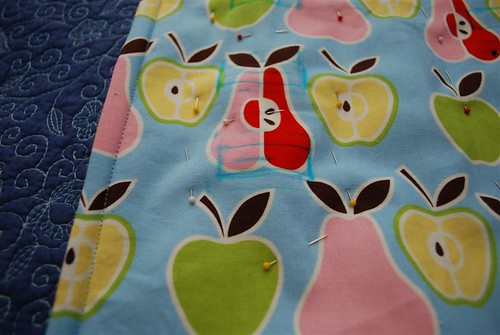
Pin around your strap slots so that the layers don't shift on you when you are sewing the strap slots. Try to pin far enough away that you won't have to move the pins while you sew.
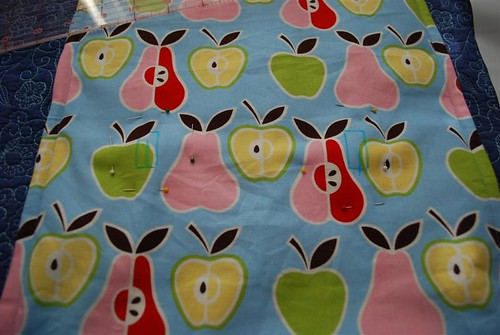
Detail of pinning:
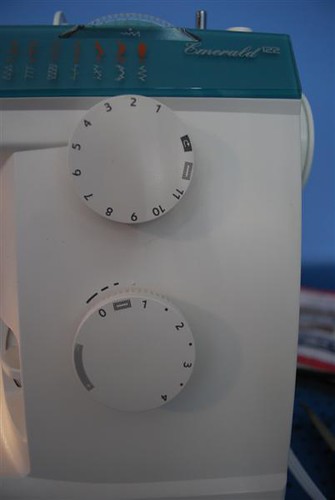
Set your machine to do either a manual buttonhole or a VERY tight and short zigzag stitch.
Stitch on the boxes you made marking the strap slots.

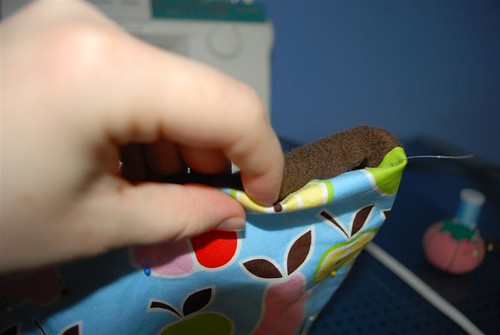
You will need your sharp small scissors, your seam ripper and patience for this next step!
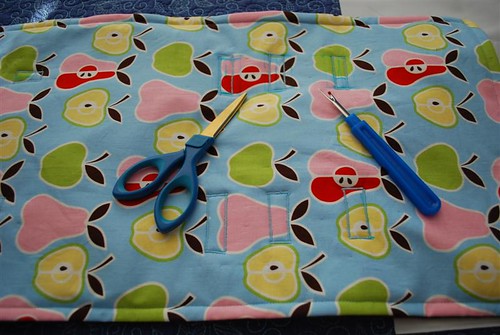
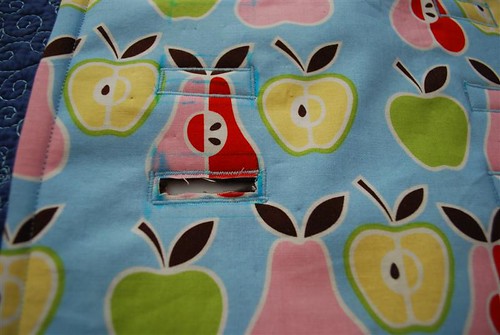
Use your seam ripper to cut a hole in the middle of your boxes where you stitched around. Then, use your scissors to CAREFULLY cut out the rest of the fabric, shower curtain liner and fleece/backing.

Slot for scissors
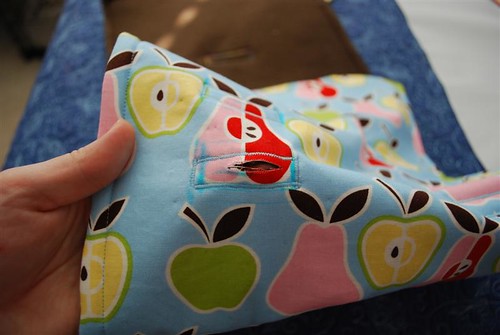
Cut out on 3 sides

This is what it should look like when you get done
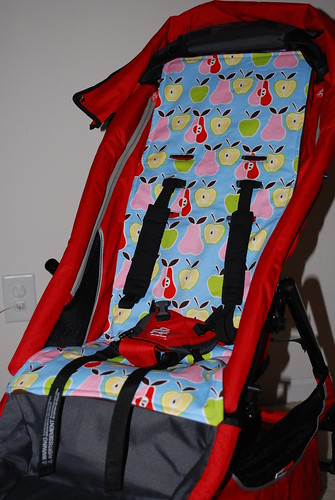
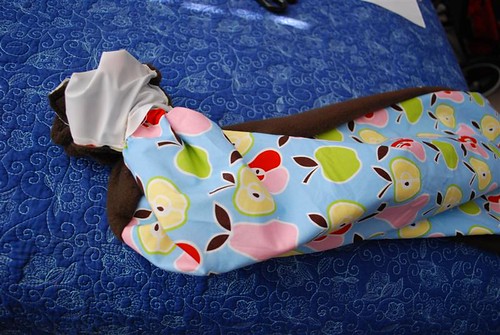
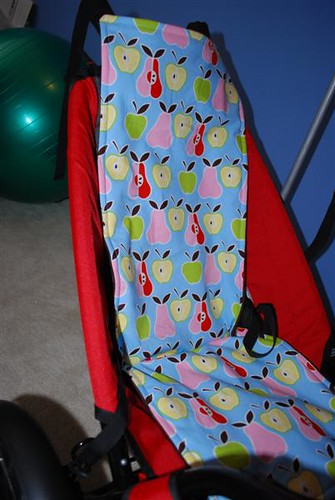
All done! Put it on the stroller and check it out!

On the stroller
Feel free to email me with questions or suggestions!